These tutorials were created by members of the Digital Humanities at Claremont Colleges (DH@CC) team during the five-year Mellon-funded digital humanities initiative (2015-2020).
Wix is a free, easy-to-use site building platform.
Quick Guide to Wix: A Google Docs copy of the Quick Guide provided on this page.
Quick Guide to Wix
Wix is a free, easy-to-use site building platform. Wix allows you to create two types of sites: a website or a blog. A website generally contains information that is fixed and occasionally edited. A blog generally features regular updates and frequent new media and/or text posts. Wix will allow users to choose templates that are best suited for either websites or blogs.
There is a bit of a learning curve with Wix, but the drag and drop features of the editing interface make this tool quite simple to get the hang of.
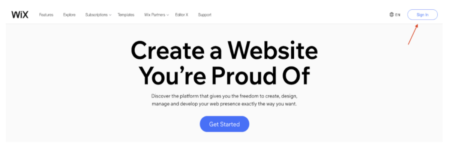
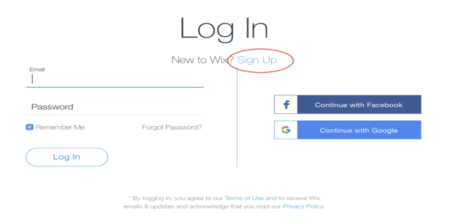
Log In with an existing account or Sign Up for a new one.
Wix homepage.
Log In with an existing account or Sign Up for a new one.
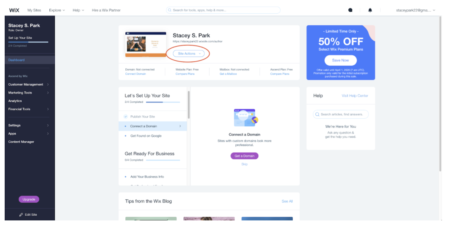
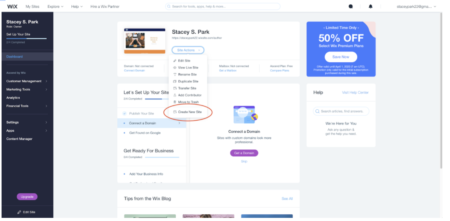
Your Dashboard shows you the back end of your account and all of the sites that you have created. From analytics to domain purchase, the Dashboard will contain many properties pertaining to your account and site(s). This is also the place where you will go to create a new site. To create a new site from your Dashboard:
Select Site Actions.
Select Create New Website.
Your Wix Dashboard.
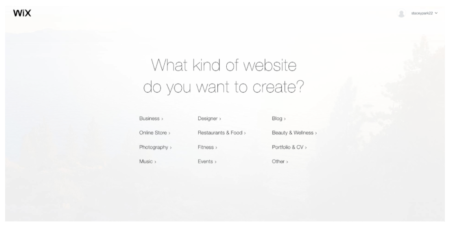
Once you Create a New Site, Wix will prompt you to select the kind of site that you’d like. You will then be encouraged to select from numerous Templates that are most suitable for the site you are trying to create. Feel free to browse through the categories to look at Templates that will best serve your project.
Template selection options.
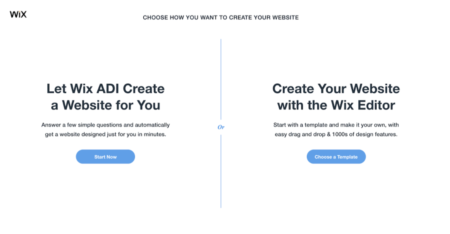
Wix ADI or Wix Editor selection.
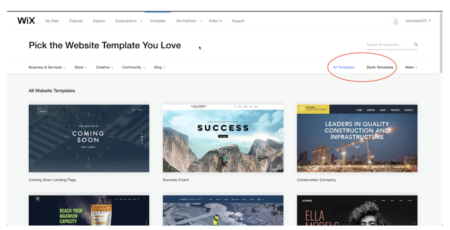
If you select the Wix Editor, you’ll be able to browse through numerous pre-made templates or start with a blank template. Once you’ve found a template that you like:Once you’ve selected a category, Wix will ask you to choose between Wix ADI or Wix Editor. Wix ADI will create a Template for you after you answer several questions about what features you’re looking for. Wix Editor will allow you to select and edit your template as you please. You can always start with Wix ADI and then edit the template yourself, but we recommend starting with Wix Editor and customizing your site from the beginning.
Select View to browse the template, or
Select Edit to go to the Wix Editor.
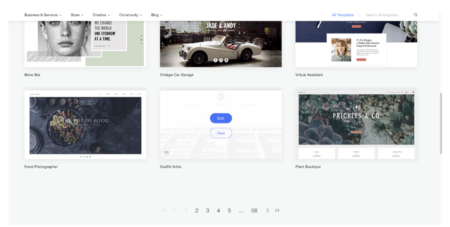
Pre-made templates.
Blank templates.
Hover over a template to select View or Edit.
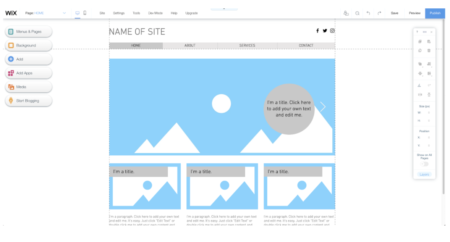
The Wix Editor comes with a standard suite of editing and navigation tools.
Standard Editing Mode for a blank template.
The Preview option at the top right will allow you to view your site as a visitor would see it (either on a desktop or on mobile). Be sure to click Save, also located at the top right, every so often so that you are saving your edits.
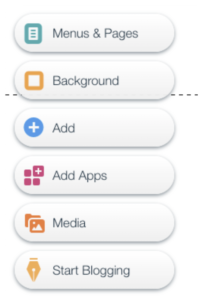
On the left, there is a menu that reflects more of the higher-level, overview information of your website.
Editing menu.
Menus & Pages shows the full blueprint of your site. It will list your Homepage, Pages, and Subpages. It will also show you the Menu(s) for navigating your Homepage and other Pages. A main site Menu should be embedded in each Homepage, and you can add Menus for other Pages if necessary. Note that you’ll want a Page to have a Menu if it hosts other Subpages. (See Basic Layout & Routes of a Website figure for reference.)
Background allows you to edit the background of any given page.
Add allows you to add a text, image, video, etc. component to a page.
AddApps allows you to add links to other apps or embed a third-party app like Facebook, Instagram, etc. to a given page.
Media allows you to upload your own photos/videos that you’d like to use on your site, browse Wix’s stock media, and edit any of the photos/videos that you want to use. Note that it is helpful to upload all of the videos/images that you want to use for your site at once. This will help you navigate easily through the Media tab on the menu, and you won’t have to upload something each time you want to use it.
Start Blogging is an analytics tool to help grow your audience. Some basic analytics are built in to your free site; more detailed information about who is visiting and interacting with your site is available for a fee.
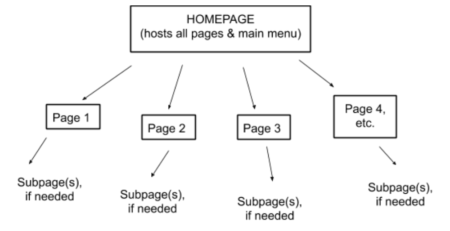
You’ll also be able to choose the basic organization of your site. Your Homepage, Pages, and Subpages can all be managed through the Menus & Pages tab. The number of Pages and Subpages can be tailored to fit the needs of your project.
Site organization.
To edit features of your site, click any aspect of your site in the editor and you will be prompted to edit that particular section, text, image, etc.
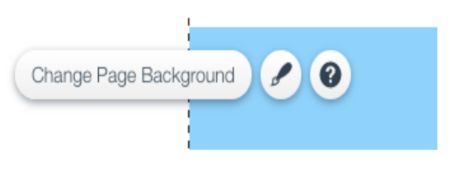
When editing a blank template, click anywhere to begin editing.
Click anywhere on the background and you will be prompted to change the background.
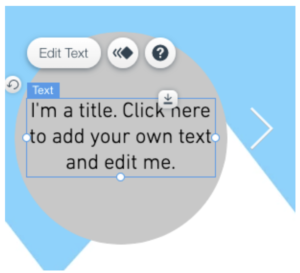
Click any text overlay and you will be prompted to change the text.
When you begin editing, the Editing Tool Bar will appear. The Editing Tool Bar will allow you to copy/paste, delete, rotate, arrange, & resize content a Page. For help navigating the Editing Tool Bar, click the small question mark at the top left corner.
Editing Tool Bar
Once you have added all of your content to your site, you’ll want to Publish your site so that you can share it with others. To Publish your site, click the blue Publish button on the top right.
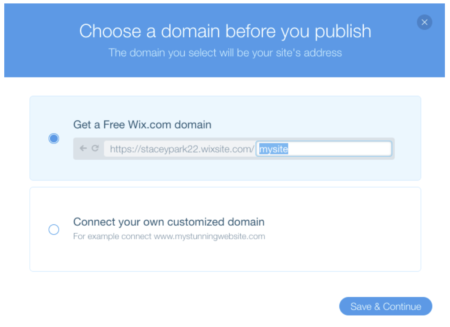
Wix automatically provides with you a free URL that you can somewhat customize.
Publishing your site and customizing your domain.
After you customize your free URL, click Save & Continue. You will then be prompted to Publish your site. After you Publish your site, you can visit your site at the URL you just created.
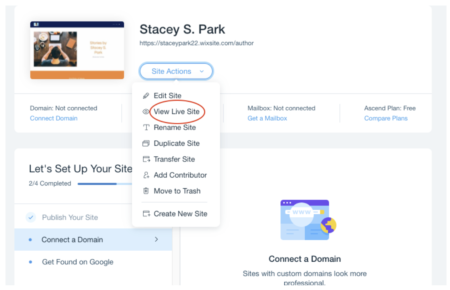
Your live site will also be accessible through your Dashboard.
Note that for a class project, you should not buy a domain name. If you do want to keep this site for your own public-facing scholarship (or whatever else), you might want to consider purchasing a domain name. Wix offers a variety of monthly rates depending on what the site will be used for.
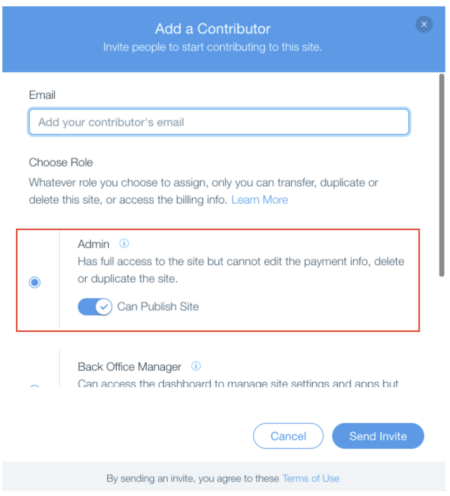
Add users to collaboratively build a site.
Collaborating on any project can be hard, especially when you’re all working remotely. If you are working collaboratively to create a site, the following tips will help ensure a seamless workflow.
Whoever creates your group’s Wix site should add each group member as a contributor to the site. To add contributors:
Navigate to your Dashboard.
Select Site Actions.
Select Add Contributor.
When adding contributors to a site, make sure they are added as Admins. This will allow all contributors to have editing and managing access to the site.
Whoever creates your group’s Wix site also has control over the payment info, deleting, or duplicating the site. If you are this designated point person, be aware that you have these capabilities (should you use them or not).
Designate times to work on your site. Make sure that those times are clearly communicated to the other members of your group. If two people are working on the site at the same time and saving content, you may cause each other’s work to be overwritten and deleted.
Agree upon certain templates and aesthetic choices at the beginning of your project. Plan out what your site will look like. Use the basic layout figure as an outline/structure to start your planning so that everyone has the same blueprint.